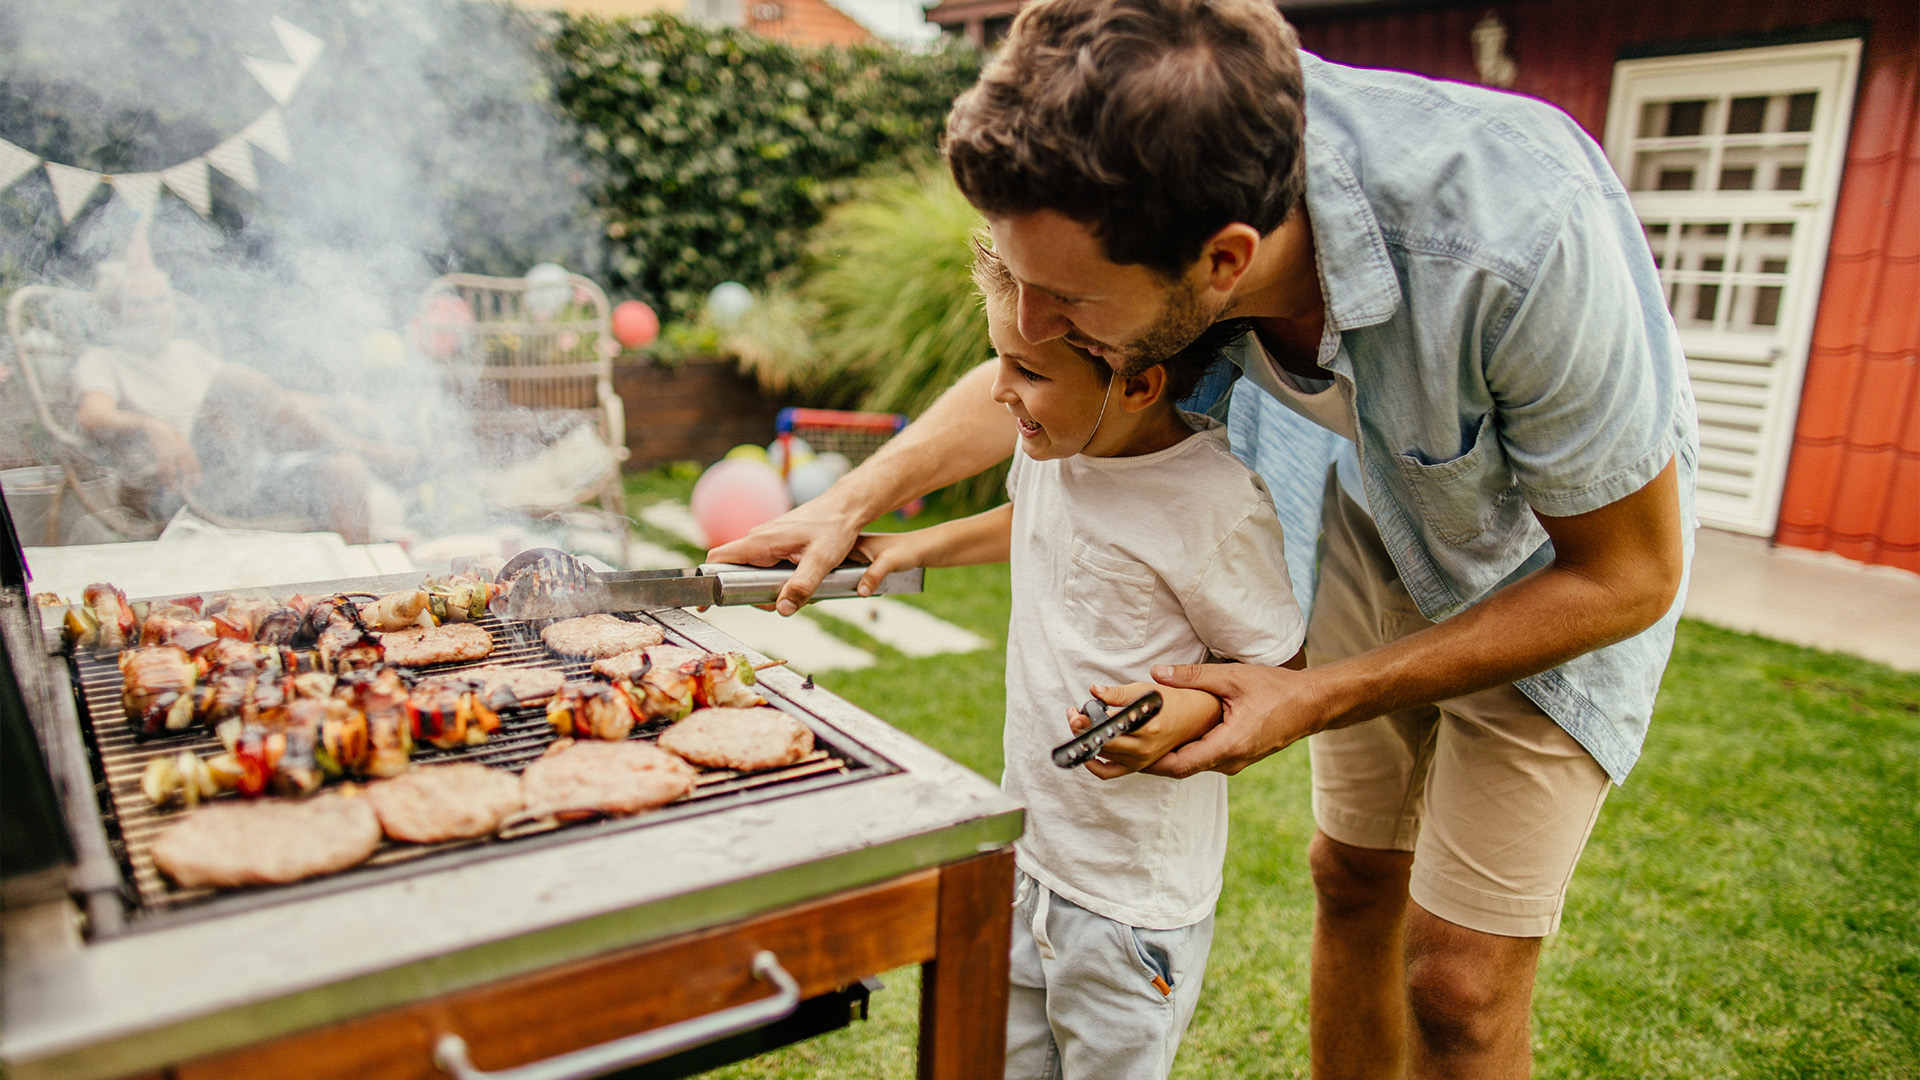
We’re firm believers that summertime was made for grilling, and it’s not just us – Americans love to grill. For instance:*
- 70% of US adults own a grill.
- Gas is the most popular grill type, followed by charcoal.
- 75% of grill owners even use them in the winter.
Whether you’re a grill master or cookout novice, we’re here to serve up our best grilling advice to help make your next backyard cookout a huge success.
Step 1: Choose Your Type of Grill: Charcoal vs. Gas
A competition as old as time (or at least as long as grills have existed): Charcoal vs. Gas. Propane vs. Briquettes. Fire vs., well, fire! Whichever you choose, it’s important to understand the ins and outs of the two most popular grill types and how to use them to their full effectiveness.
Pros and Cons of Charcoal Grills
Pros:
- Charcoal grills offer a rich, smokey flavor that you can’t get on gas grills.
- They’re typically cheaper than gas grills.
- They can get hotter than gas grills, which lets you sear in that juicy meat flavor.
Cons:
- It can take about 20 to 30 minutes for charcoal grills to heat up.
- There’s a lot more cleanup afterward, as burning charcoal produces ash residue.
Pros and Cons of Gas Grills
Pros:
- They light up immediately so you can begin cooking within minutes.
- Control the temperature easily by adjusting the knobs.
- Cleanup is comparatively minimal – simply turn off the grill and scrape away anything left on the grate.
Cons:
- They aren’t infused with that delicious smokey flavor that you’ll taste with charcoal grills.
- They can be more expensive than charcoal grills.
- Fuel tanks can be more costly than charcoal briquettes.
In the end, both types of grills offer advantages and disadvantages. If you’re looking for something cheaper that offers great flavor and don’t mind a bit of cleaning, charcoal grills are the way to go. If you’re interested in convenience and grilling quickly, then gas grills are for you.
Bonus Tip – Grill Storage: Regardless of the grill you choose, your new equipment is an exciting purchase that you and your family will enjoy for years to come. Protect your latest investment with a weather-resistant cover and properly store it in a safe location when not in use. For added safety, keep an eye on your grill (and anything else in your backyard) with a CPI Outdoor Camera.
Step 2: Practice Safe Grilling
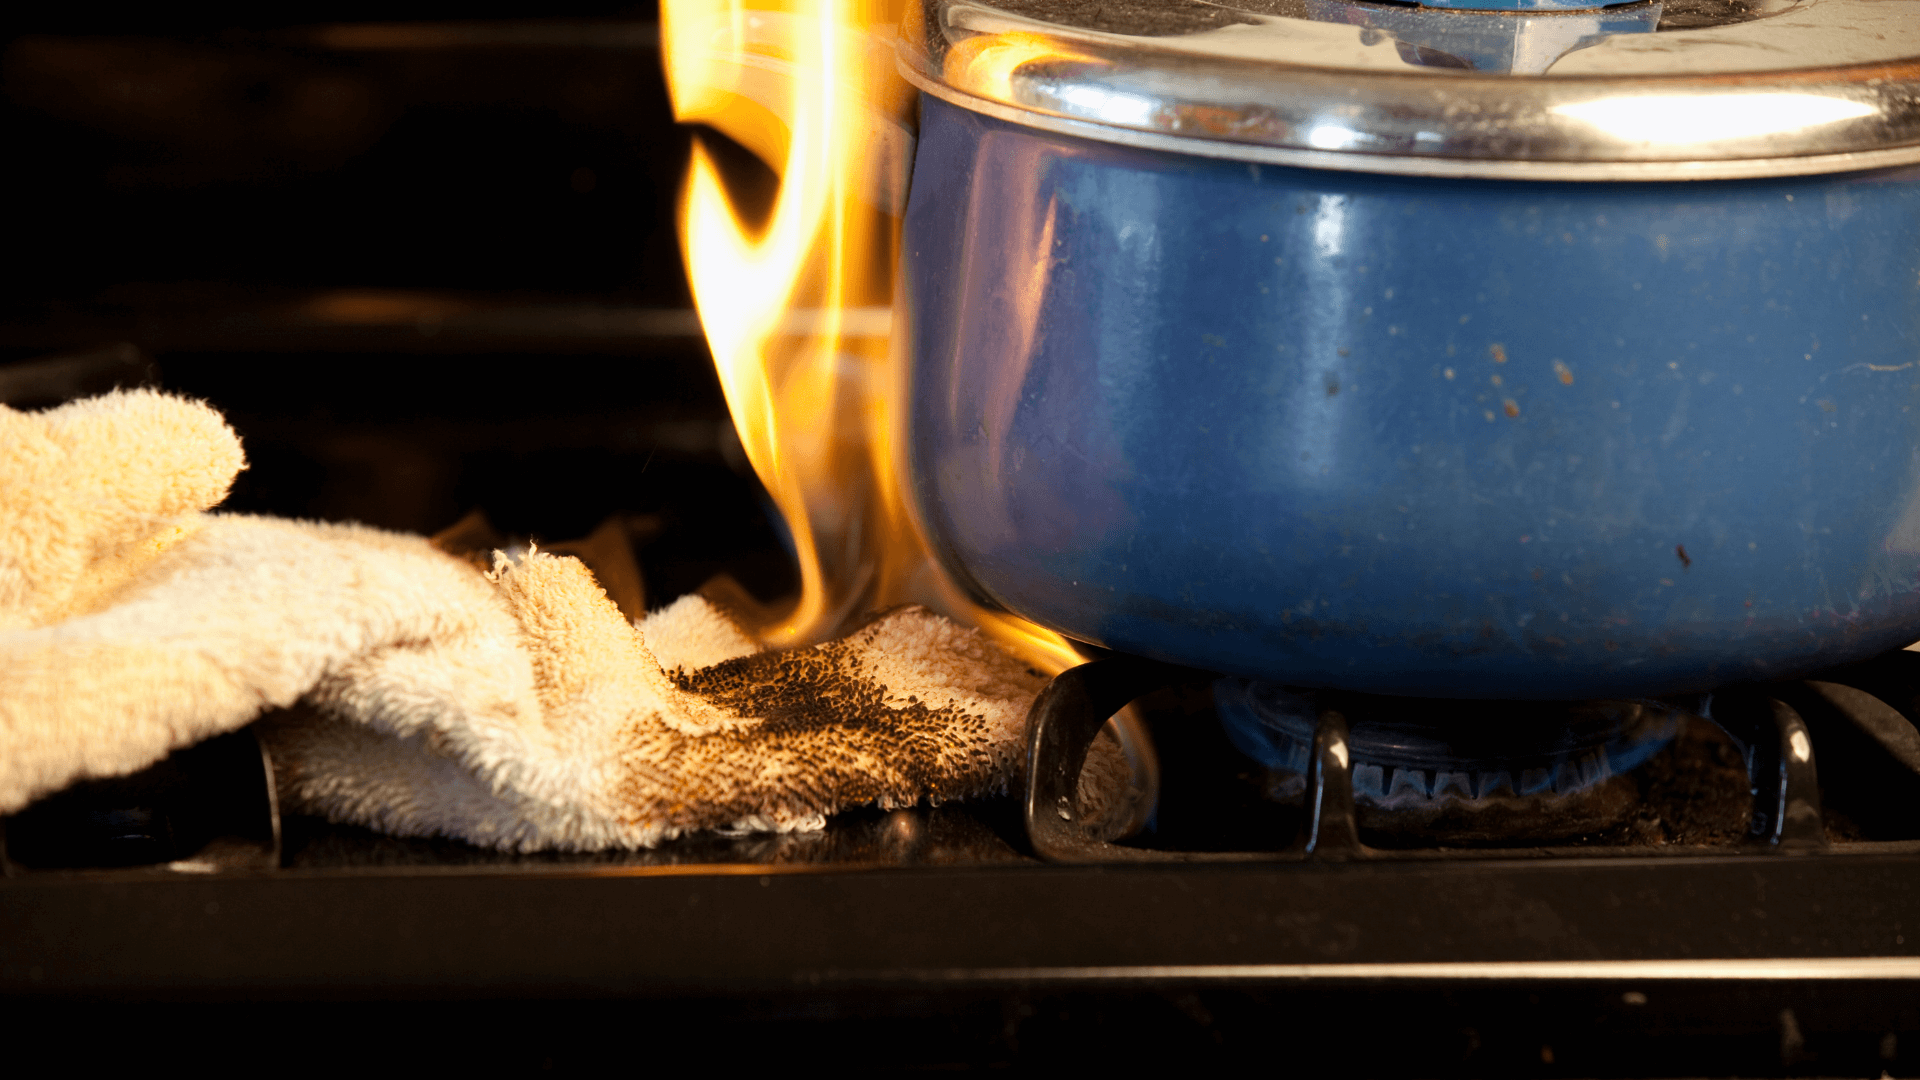
It is important to follow a few simple safety guidelines when grilling to ensure that you, your home, and your family members are safe. Grills alone are responsible for approximately 5,700 home fires every year.
Stay safe while dinner is sizzling with our CPI Safety Practices:
- Clean your grill regularly to avoid flare-ups.
- Have a cup of water handy to douse any sudden flames.
- Keep a fire extinguisher close by (just in case).
- Never leave your grill unattended.
- Always ensure your grill is open when lighting it (especially gas grills).
- Gas or Charcoal – be sure to keep your grill at least 10 feet away from your house or shed.
- When you’re done grilling, be sure to turn off your gas grill and shut off the valve to the fuel tank. Similarly, with a charcoal grill, check to make sure that the coals are completely out before continuing with your evening.
If you’d like more information on how to keep your home better protected against fire with CPI Security learn more about our safety alarms.
Step 3: Know the Basics
Straight from the grilling pros, here are some tips that are sure to make you look like the grilling expert you are (or hope to be).**
- Make sure the grill is fully preheated. Putting the meat on too soon can cause your food to cook unevenly or take longer than anticipated.
- Don’t move the food around. The less you flip something, the better it’ll be.
- Vegetables cook quickly and can often go from perfectly charred to burnt in a few moments, so keep an eye on them.
- Close the lid to give foods that delicious smokey flavor; this will also help them cook all the way through.
- Go for slightly fatty meats. If it’s too lean, it’ll dry out quickly on the grill.
- Rest the meat after it’s done cooking. If you let it sit for a few minutes, the juices will redistribute, making your burger even better!
Step 4: Start Your Charcoal or Gas Grill Like a Grill Master
How to Start a Charcoal Grill
How to Light a Charcoal Grill with Lighter Fluid
- Add the charcoal in a pyramid shape with a large base, and then stack into smaller layers.
- Carefully pour lighter fluid over the coals. Lighter fluid can be dangerous and is extremely flammable, so be careful.
- Wait 30 seconds to a minute for the lighter fluid to absorb into the coals.
- Light the coals using a long lighter or match.
- Cover with the top grate, and then you’re ready to go!
Lighter Fluid Safety: Always remember to store your lighter fluid properly when not in use. Keep the container sealed tight and away from flammable materials and heat sources.
Lighting a Charcoal Grill with a Chimney
To some, chimneys can feel like the “safer” alternative to lighting charcoal without using lighter fluid. If you decide to use a chimney, follow these steps:
- Add coals to the chimney so that it is full but not overflowing.
- Place starters like newspaper, paper cups, or wood chips underneath the chimney.
- Light the starters from the bottom of the chimney.
- Once you see flames at the top of the chimney, carefully flip it to pour out the coals.
- Cover them with the grate once the coals turn white, and you’re ready to cook!
How to Start a Gas Grill
- Since gas grills use propane or natural gas, it is necessary to inspect the tank before doing anything else. Make sure that the supply line and regulator are connected and in good condition.
- Check to make sure the tank has enough fuel. It’s also good to have a spare tank on hand, just in case.
- Open the lid to prevent gas from building up, and then completely open the valve on the fuel tank.
- If your grill has an igniter button, turn the first burner knob up and push the button.
- If your grill doesn’t have an igniter button, place a long match or long lighter near the first burner and light it.
- After you light the first burner, turn the other burners on high so that they can ignite. Then close the lid so that the grill can heat up.
Step 5: Best Meats to Grill? You Be the Judge
With the grill fired up, it is time to lay on the meat (or veggies!). Here are a few of our favorite things to grill for your next outdoor BBQ.
Classic Meats for Grilling
- Burgers: It seems everyone has their preferred method for grilling a classic burger, but if you’re looking for a new recipe, this one looks delicious.
- Hotdogs: For us, it’s all about the toppings.
- Chicken: Legs, breasts, or thighs, these are just delicious when grilled with some BBQ sauce.
- Sausages: Upgrade your traditional hotdog to a bratwurst or Italian sausage.
- Steak: If you’re looking for the perfectly grilled steak, look no further.
New Adventures
- Oysters: A little different, but oysters are surprisingly delicious when grilled.
- Scallops: Create a showstopping moment when you drop these grilled scallops on the table.
- Venison: Expand your horizons with this marinated venison recipe.
- Plant-based Meats: These days, there are a variety of companies offering tasty vegetarian meats that are surprisingly close to the real thing.
- Portabella Mushroom: While you can grill a variety of veggies, grilled mushroom caps are sure to be a crowd-pleaser.
Now, go forth and grill! Just be sure to send us an invitation to your next backyard bonanza.
Sources:
*Food Truck Empire, “58 Hot BBQ Grilling Industry Stats, Facts, And Trends.”
**Weber, “10 Useful Grilling Tips.”
***Networx, “11 Summer House Fire Facts.”


