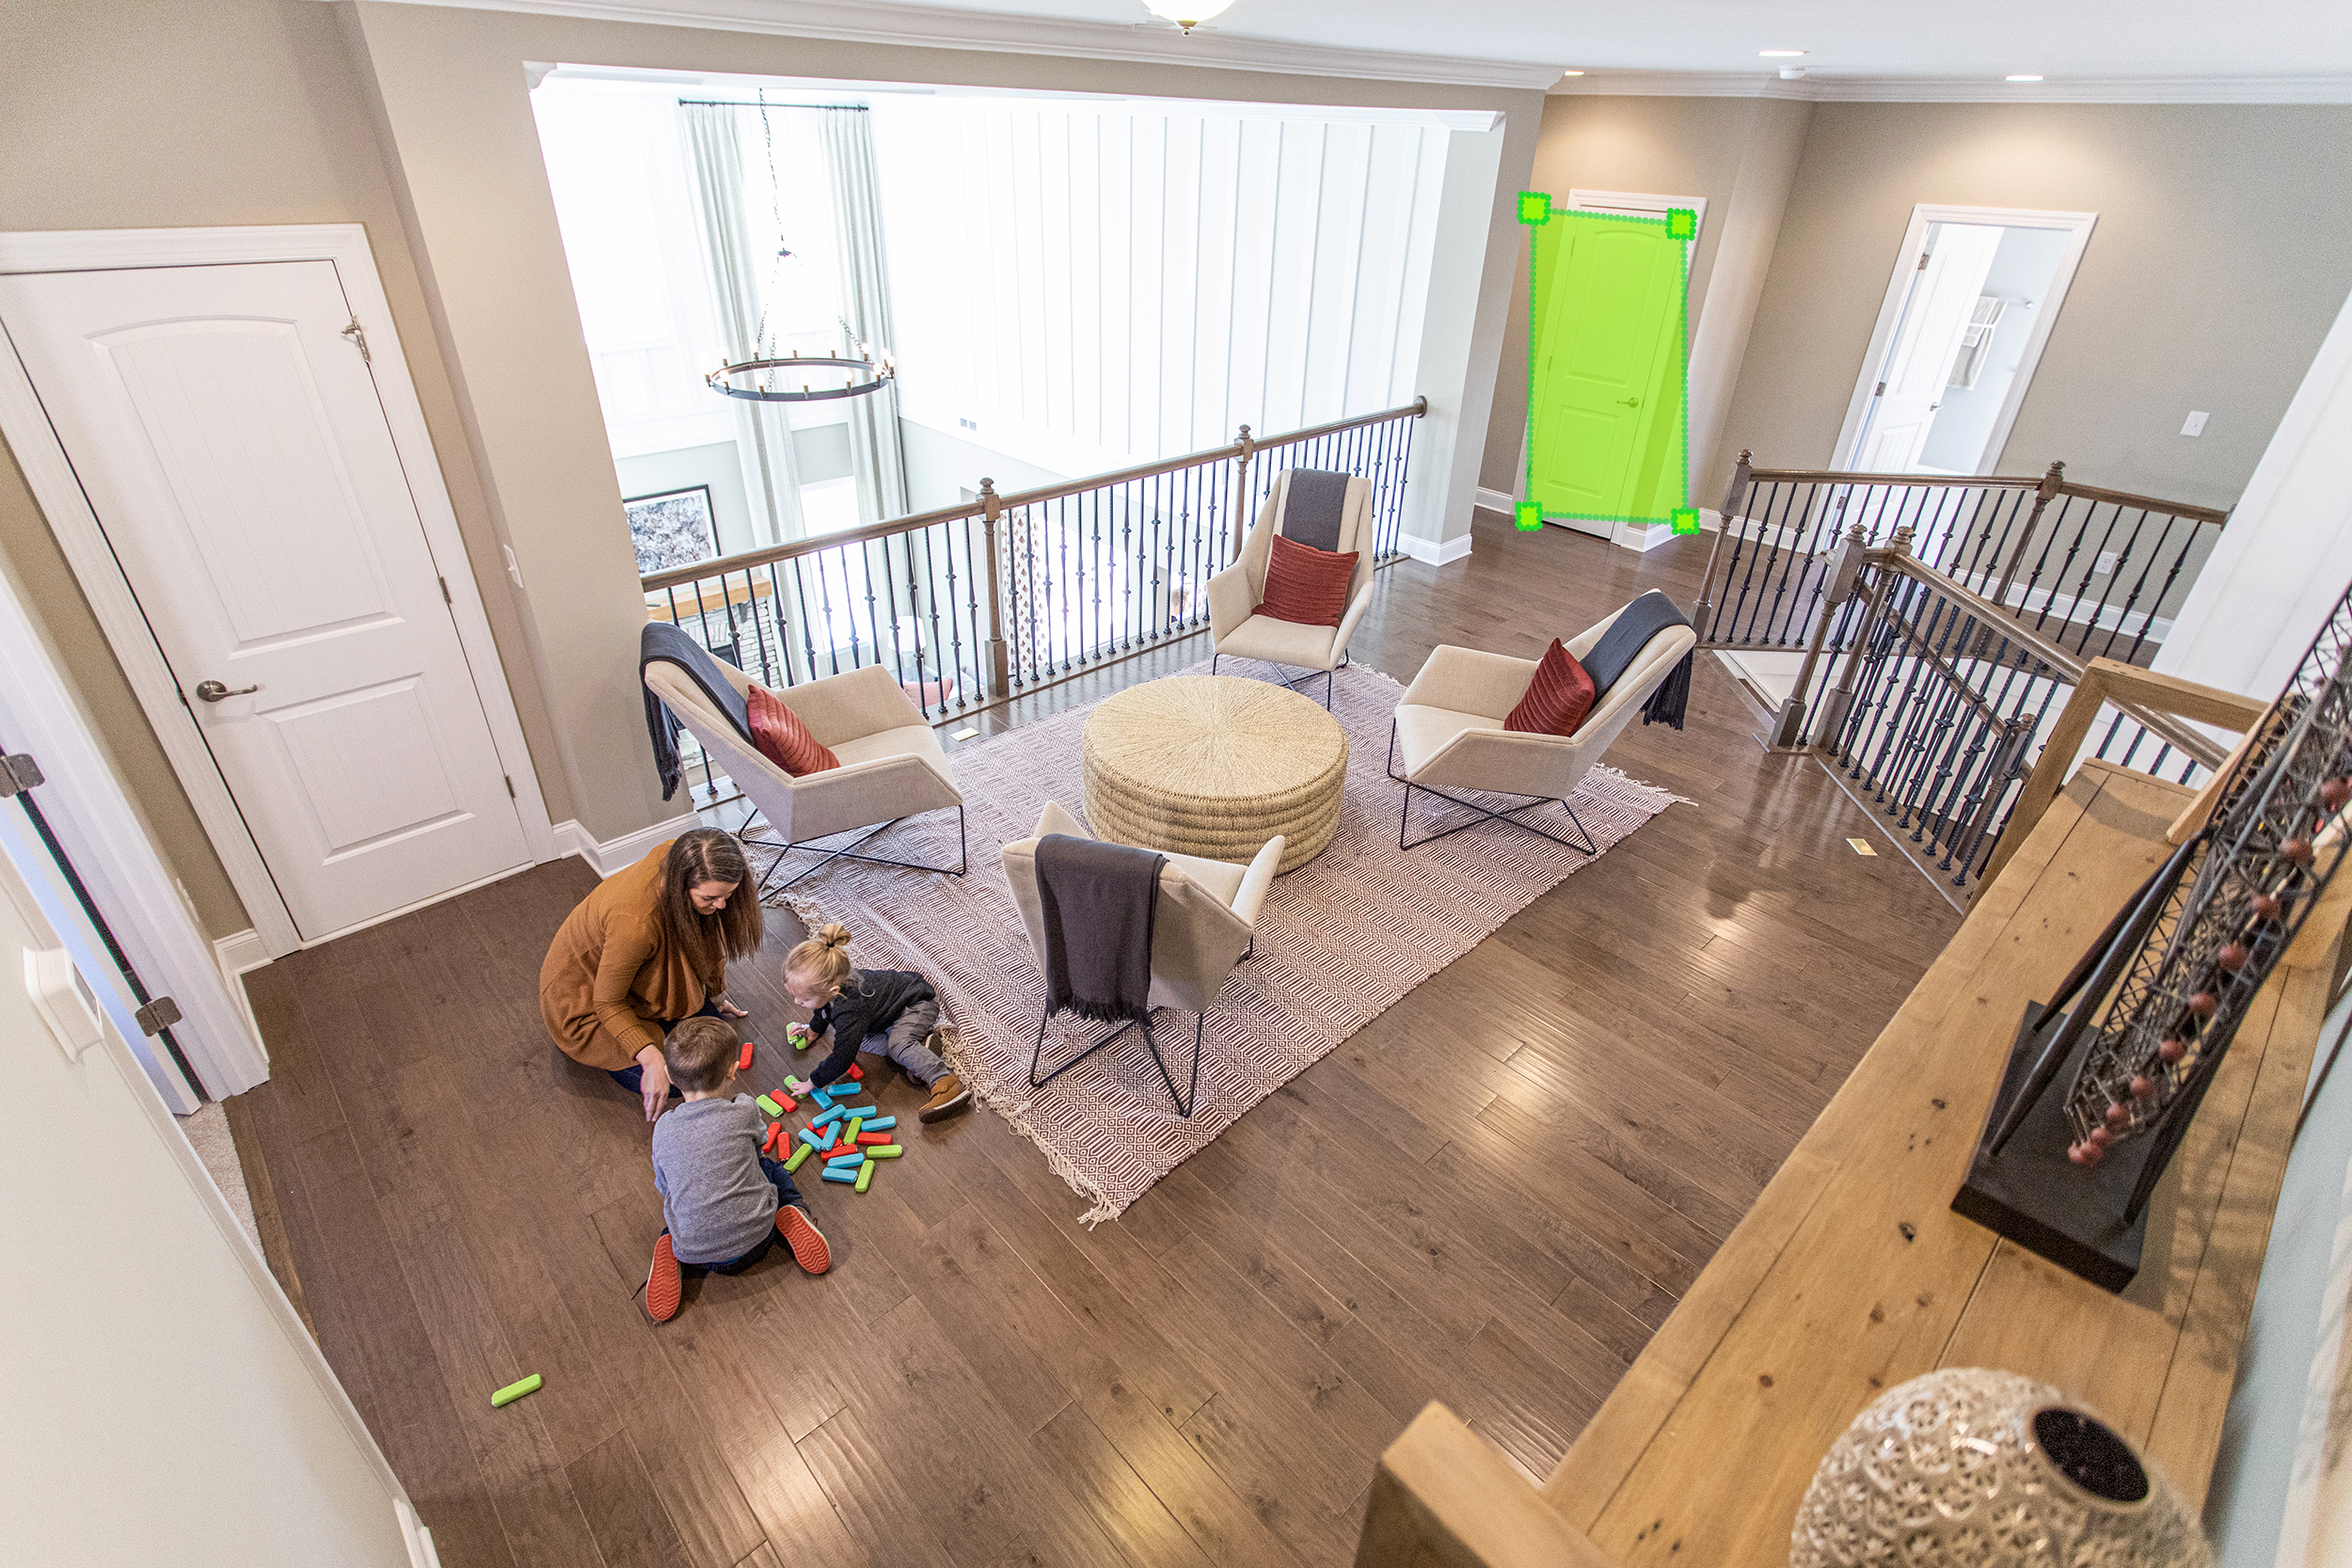
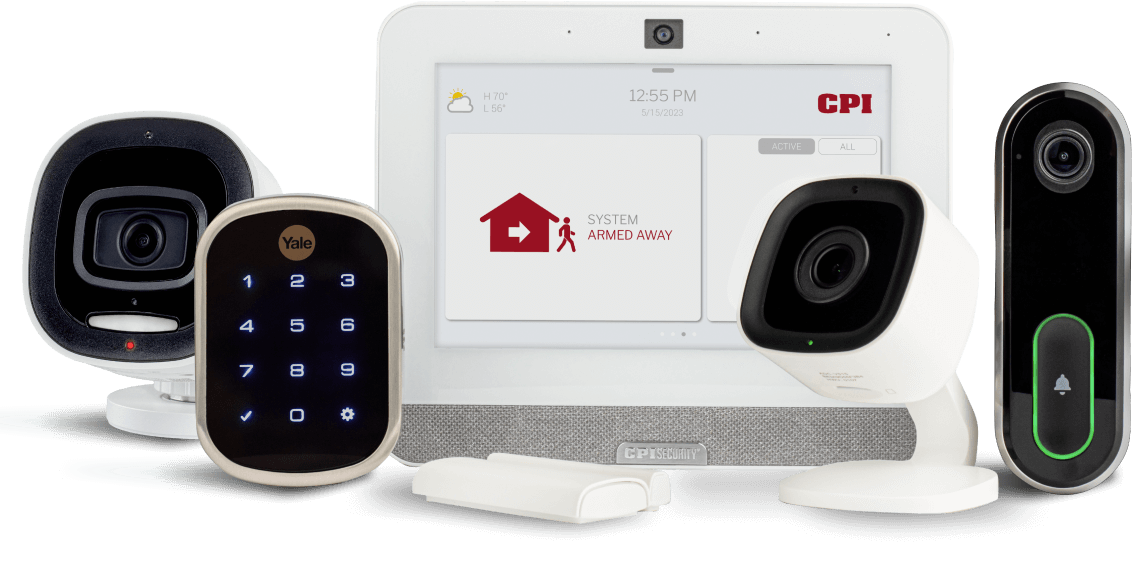
Are you torn between wanting security cameras to keep tabs on everything that goes on at home or in your business while still wanting to keep some portion of the camera’s view private? CPI’s latest feature release, privacy zones, can give you the best of both worlds. This blog will show you how to block certain portions of your CPI video stream from ever being seen.
CPI Security recently released a new feature that will allow you to obscure or block portions of the camera’s viewpoint that may be sensitive or personal. For example, you may want your CPI indoor camera monitoring your business’s safe, but you don’t want the keypad to be in the camera’s view. Now, you can set a privacy zone to obscure the safe’s keypad from live and recorded video.
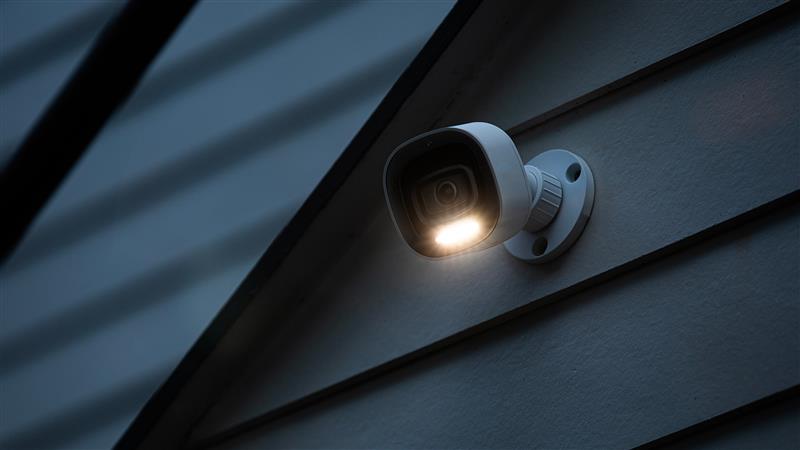
Or maybe you have an outdoor camera set up to protect your own property, but you don’t want it recording your neighbors’ comings and goings. Now, you can set up a privacy zone to block their property from your live video stream and recordings.
Keep in mind that if you set a privacy zone, it will block the portion of the camera’s view from the live stream and any video recordings. So, you will never be able to see what happened behind the privacy zone you set, even if an emergency occurred there.
How to Set Up a Privacy Zone
To set up a privacy zone via the inTouch™ app watch the video or follow the steps below.
How to Set Up a Privacy Zone Using the inTouch™ App
- Open the InTouch™ app.
- Select the arrow to the right of the ‘Video’ tile.
- Press the settings icon in the top right-hand corner.
- Click ‘Privacy Zones’.
- Select which camera you wish to set a privacy zone for.
- Press the + sign next to Zone 1, Zone 2, or Zone 3.
- Create a shape by clicking anywhere on the video stream. You can make a shape with up to eight points. Click and drag on the corners of the shape to edit the privacy zone.
- To delete the privacy zone, click on the garbage can icon to the right of the zone.
- Press ‘save’.
How to Set Up a Privacy Zone Using a Browser
- Login to your InTouch account at https://cpisecurity.com/intouch-login
- Click ‘Video’.
- Select the camera you wish to create a privacy zone for.
- Press the + sign next to Zone 1, 2, or 3.
- Create a shape by clicking anywhere on the video stream image. Continue to draw the area by clicking on the image until the shape is complete. You can create a shape with up to eight corners. Click and drag the corners of the shape to edit the privacy zone.
- To delete the privacy zone, click on the garbage icon to the right of the zone.
- Press ‘save’.
Privacy Zone Best Practices
To ensure the best performance, CPI suggests you consider the following best practices when setting your privacy zone.
- Avoid overlapping a privacy zone with any IVAN ground zone or tripwires.
- Place the privacy zone away from the area of interest for better analytics performance. The closer the privacy zone is set to the area of interest, the worse the analytics performance.
- Consider removing the privacy zone if IVAN analytics performance is not satisfactory.
- Avoid the center of the camera’s field of view when setting up privacy zones.
- Privacy zones work best if drawn along the left or right edges of the camera’s field of view.
- Create your privacy zone shape to be as small as possible.
- Calibrate IVAN analytics before configuring privacy zones. Remove or disable privacy zones during re-calibration.
For further assistance in setting up privacy zones, contact customer support today.
If you’re interested in learning more about CPI’s other features and services, visit our blog.


