Water damage can be a massive headache. Not only does it cause significant damage to your home, but it can also be expensive to repair. According to a study conducted by HomeAdvisor, the average cost to repair and clean up residential water damage is between $1,200 and $5,200.*
If you’re wondering about how to fix water damage in your home, we’ve got you covered. Below, we’re outlining seven ways to clean up water damage and get your home back to normal!
How to Fix Water Damage in Your Home
How to Soak Up Water from the Carpet
The best option to soak up water from carpet is to use a wet-dry vac. The larger your flooded area, the bigger the vacuum you should use. Typically, you can rent these machines from hardware stores like Home Depot and Lowe’s.
Suppose the water has thoroughly soaked through to the padding. In that case, it might be necessary to replace the carpet and padding to prevent mold and bacteria from growing (although this can sometimes be solved through special antimicrobial treatments).
In either case, it’s best to contact a professional carpet cleaning company if you suspect that the vacuum hasn’t dried out the carpet.
How to Soak Up Water from the Floor (Laminate, Wood Flooring, etc.)
If there’s a large amount of water in your home, don’t be afraid to bust out that bucket and start scooping out the excess water. Be sure to dump the water far from your home to prevent it from re-entering the space. You also may be able to pour the water down a drain if your drains weren’t the cause of the flooding or affected by it.
After you’ve scooped out as much water as possible, consider using a wet vac to remove any excess water still hanging around. If you don’t have a vac, use a mop and bucket to remove the water.
How to Repair Water Damaged Ceiling
The first step to repairing a water-damaged ceiling is determining the extent of the damage. If the damage is limited to a small area, you may be able to fix it yourself.
If you are going to try to fix the damage yourself, start by drying out the area. You can do this with a fan or a dehumidifier. Once the area is dry, you can begin repairing the ceiling. Start by patching any holes or cracks in the ceiling. Then prime and paint as needed to cover up any water stains.
If there is any water damage to the insulation, you will need to replace it. You can do this by removing the damaged insulation and replacing it with new insulation.
If the damage is more widespread, don’t be afraid to call in a professional. A professional can repair the damage and restore your ceiling to its original condition.
How to Repair Water Damaged Wood
Wooden surfaces are especially vulnerable to water damage. Because most furniture or other wooden items that get wet cannot be easily replaced, you will need to make repairs so that the water damage is not permanent.
The first step? Determine if the piece of furniture can be repaired at all. If the water damage is extensive, it may be better to replace the item rather than repair it.
If you decide that the piece can be repaired, your next step will be to remove any excess moisture and let it dry completely. Make sure that there is no mold growth and if there is, use a mold killer to get rid of it.
Once the wood is completely dry, you can begin to make repairs. If the damage is only on the surface, you may be able to use a wood filler or touch-up paint to fix it. If the damage goes deeper, you will need to refinish or restore the entire piece of furniture.
How to Repair Water Damaged Electronics (AirPods, Laptop, etc.)
The sooner you act, the better. Electricity and water don’t mix, and preventing an electrical short is critical to keeping your device working. Turn your electronic device off and remove the battery or unplug it as quickly as possible.
Once the battery is removed (or the device is unplugged), it’s time to start drying out the machine. If your device is on the smaller side (phone, AirPods, etc.), fill a container with rice and leave the device in the container for at least 48 hours. The rice will help suck up any moisture still inside the phone. After two days, you can try turning it on.
If the device is larger (or the rice trick didn’t work), you’ll need to take the device apart and dry each component separately. Rather than simply removing the back cover or panel, try to take off as many parts as possible. This will allow you to reach and dry out all the water inside your device. Once you have access to each part, you can use a hairdryer or heat gun set to low heat to dry everything out. Be careful not to melt any plastic parts!
How To Fix Water Damaged Drywall
Your floors and ceilings aren’t the only parts of your home that a flood can damage. Baseboards and walls can also become casualties. Dry your walls by first removing any furniture and artwork that may be on or against the wet wall. This will allow more air to contact the wall’s surface area to begin the drying process.
Once the room is empty, use a combination of dehumidifiers and heaters to heat up and dry out the room. One keynote, just because a wall or baseboard might feel dry doesn’t mean the wood underneath the surface of your hand is dry. We recommend purchasing a handheld moisture meter to help you determine when a wall is 100% dry.
If, after the wood is dry, it becomes soft to the touch or flakes with minimal contact from a screwdriver, that may be a sign that the wood has become rotted. In these cases, you’ll have to replace that wood to avoid mold/bacterial growth and to ensure your house stays structurally sound.
How to Prevent Mold After Water Damage
Mold can cause many adverse health effects and should be avoided at all costs. To prevent mold, follow all the steps above to remove the water and dry out the area entirely within 48 hours.
After 48 hours, in temperatures between 41- and 104-degrees Fahrenheit, mold will start to grow. The longer you wait to dry out the flooded area, the more likely you are to begin growing mold.
A Quick Response is Key to Preventing Costly Water Repairs
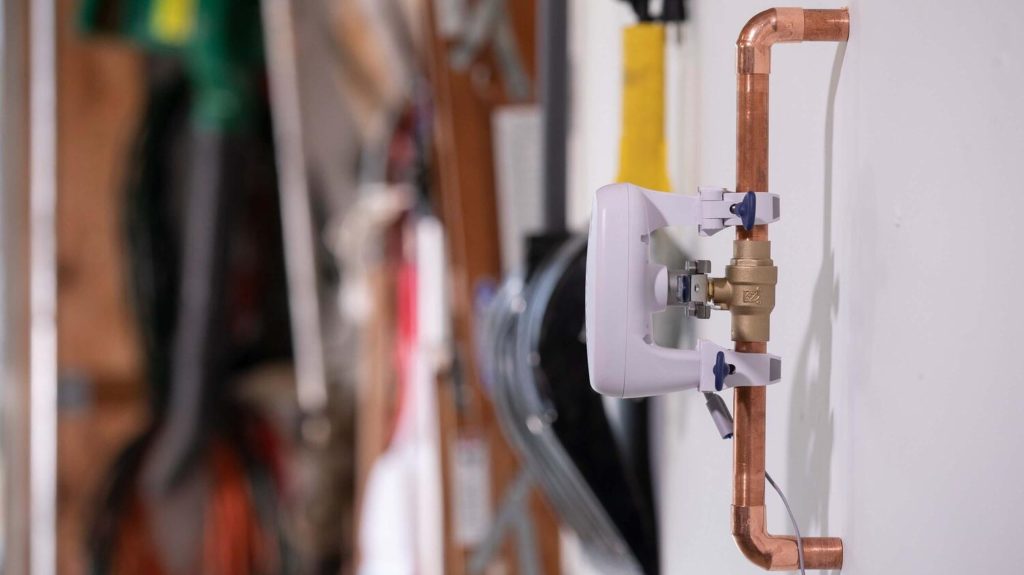
The sooner you can be made aware of a water crisis, the quicker you can take action. Should your house flood, products like CPI’s Smart Water Sensor & Smart Water Shut-Off Valve are the 1-2 combo you’re looking for to help mitigate the risk of water damage.
Simply place the water sensors in potential risk zones (basements, underneath the kitchen sink, next to your water heater, etc.) and be alerted in real-time in the event water is dedicated. Should a leak be detected, the Smart Water Shut-off Valve turns off your water valve via smart home automations or your inTouch™ app.
Foresight and preparation are key in preventing costly water disasters. If you are looking for tips and insights on how to prevent water damage in your home or what to do if your house floods, then we’ve got you covered. If you’d like to learn more about how to protect your home from potential leaks and burst pipes, talk to an expert today.
Source:
*HomeAdvisor, “How Much Does It Cost To Repair & Cleanup Water Damage?”